Welcome To The Uncorked Librarian
Grab a cozy blanket, curl up in that armchair, and discover books and movies to inspire travel. Read the best new book releases, and take the Uncorked Reading Challenge.
Spark That Wanderlust


Meet the Owner
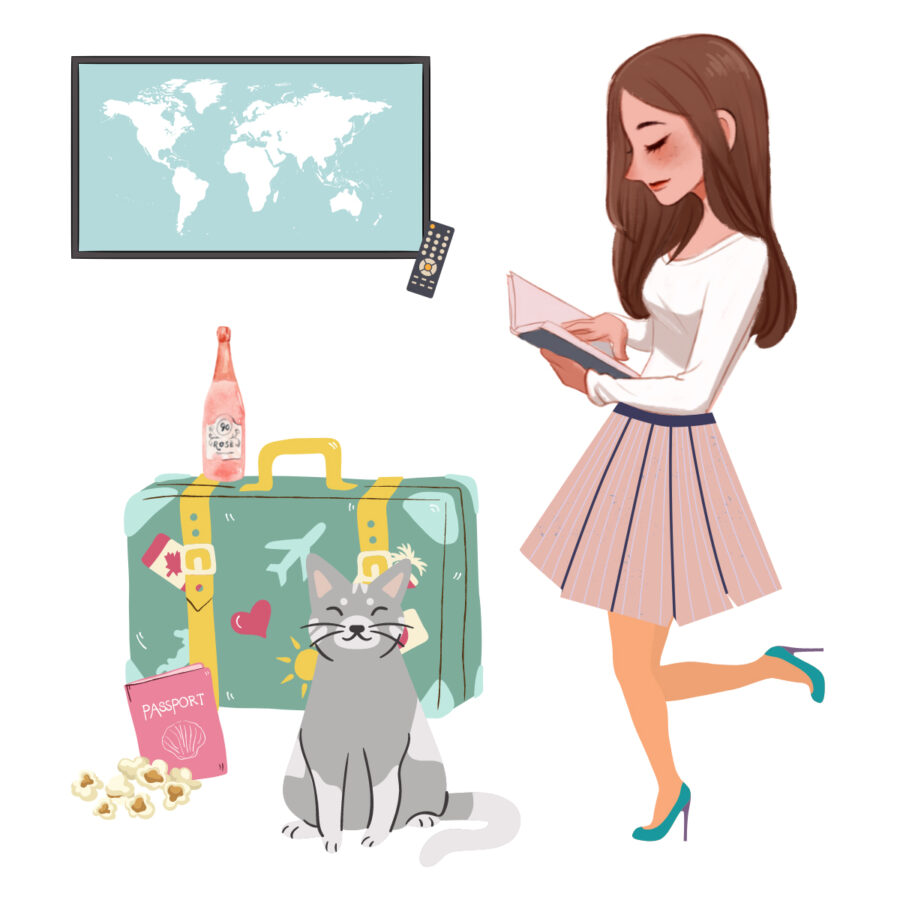
Cheers! I’m Christine
I decided to take my MLIS beyond the four physical walls of the library to create an online reading community for travelers. When my pointy nose isn’t stuck in a book, I’m adopting all of the stray kitties, talking far too loud in libraries, and drinking around the world. Charcuterie is my favorite food group.
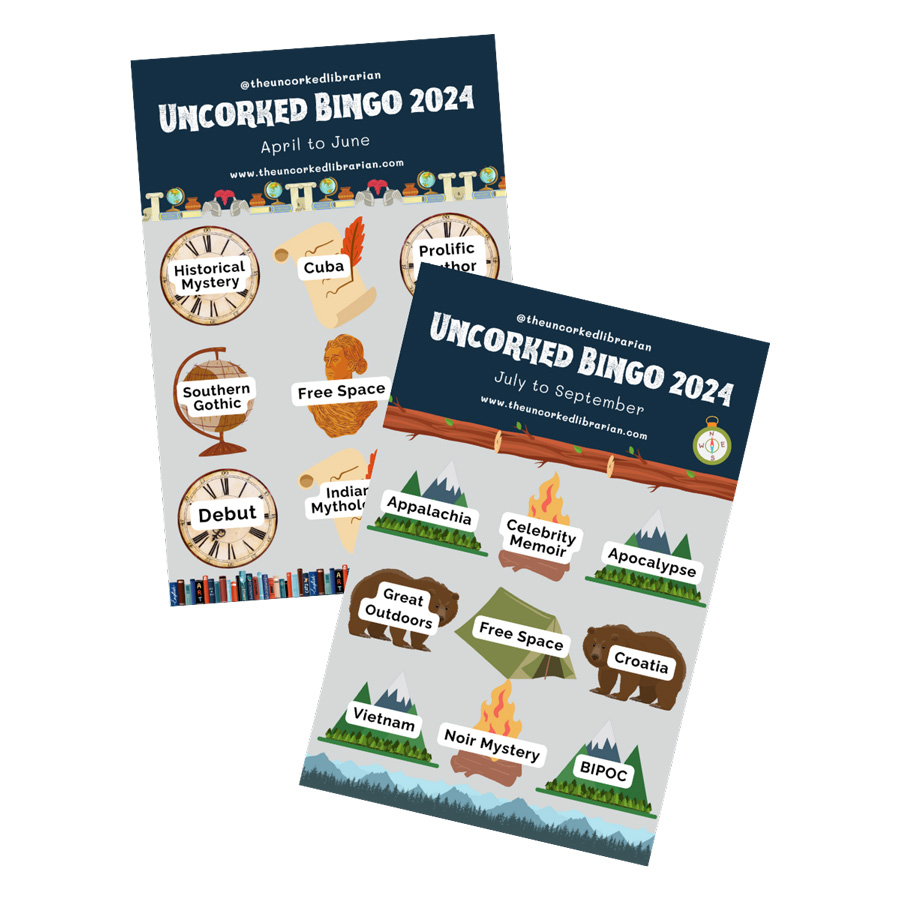
Take The Uncorked Reading Challenge Today
Travel around the world with our annual reading challenge. Grab 4 seasonal bingo cards filled with destinations, diverse authors, and topics by genre. Get book recommendations straight to your inbox.